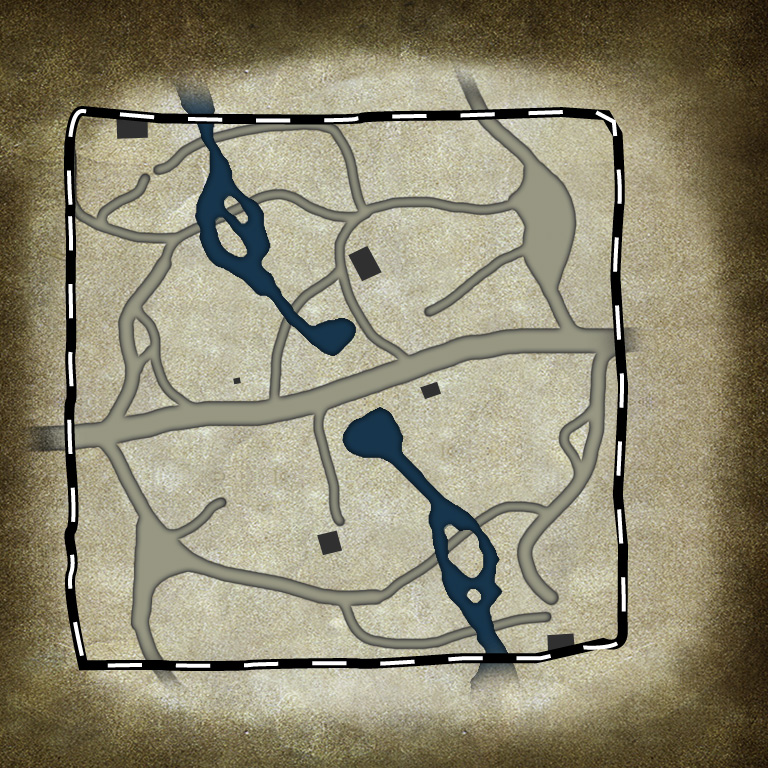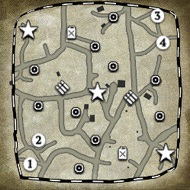
tactical map image example
In this tutorial you will learn how to create a tactical map image, which has the same style as the ones on stock maps.
The video tutorial will show you how to create this image using photoshop. The nomenclature of files you have to save is shown below.
The template.psd file that is used in the video tutorial can be downloaded here. It has been created using an original file from one of the stock maps, which has been extracted from the game and reformated for your use.
video-tutorial
In the video tutorial you learned how to create the tactical map image for a square map. The dimensions of the image are 768 x 768 pixels.
For rectangular maps the longest side will remain with 768 px and the shorter side will be scaled accordingly. You will have to crop the image template to the size of your original mapname_mm.tga, which is also noted in the mapname.options file.
Three files have to be saved from the tactical map image and have to be put into your map folder before exporting the map package.
1.
The tactical map image as it has been created in the video tutorial has to be saved as a 24bit/pixel .tga file under
...\scenarios\MP\mapfolder\mapname_mm_preview.tga
2. and 3.
Create two copies of the previous file. Save the duplicates under
...\scenarios\MP\mapfolder\mapname_mm_high.tga
and
...\scenarios\MP\mapfolder\mapname_mm.tga
4.
Another copy has to be resized. Go to Image -> Image Size and make sure that "Constrain Propotions" is checked and "Pixel Dimensions" are measured in pixels. Choose the larger side with 768 px length and reduce it to 360 px. The other dimension should scale accordingly. Confirm the rescaling by hitting "OK".
The rescaled copy has to be saved under
...\scenarios\MP\mapfolder\mapname_mm_low.tga
That's it. You can now re-open your map in Worldbuilder and export the map as .sga using "File -> Export Package"


 Thanks for sharing and explaining !


 cblanco ★
  보드카 중대
  VonManteuffel
  Heartless Jäger