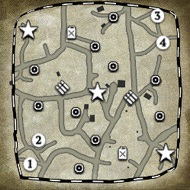
Alright so this one ain't a troll post for those who recognize my name just an FYI
Righty, so here's a replay of myself playing Wehrmacht against Soviets, pretty straightforward, now I get pushed off the map pretty early unfortunately.
The guy goes Guard Motor, the current meta(?), very very strong because of buffed guards, 120mm mortar and the brutal t-34/85 call in, those two tanks will shit on an unsupported tiger.
The guy goes inf heavy and until my tank comes out there's not much I can do. I'm not able to deal with the shear weight of his inf even with LMG grens, legit the only way that I can fight him is with MGs, I get 3 that's how much I rely on suppressing his inf.
I have to ask what I'm doing wrong? Grens even with the LMG don't have the DPS to discourage his blobbing. I understand cobined arms as Ostheer is important, but without MGs I just can't do anything.
If I hadn't had a tiger commander, I would have been completely fucked as it was my only real source of survivable damage that allowed me to push forward. Mech assault may have worked well too as the Stug gives some serious damage which can deter enemy infantry.
(Sorry if I didn't link the replay correctly)
Additionally I must ask, aside from suppressing infantry, what options does Ostheer have? LMG grens are great but simply don't have the pushing power that you need you quickly dislodge the enemy.
More Help against Soviets
15 Apr 2015, 11:09 AM
#1
Posts: 14
18 Apr 2015, 05:03 AM
#2
Posts: 1283 | Subs: 4
I will gladly do a replay review. Just let me disclose however; that I struggle with the exact same issues described here. I also reviewed one of your earlier games, so please excuse me if all can provide is an addition to that feedback
thanks for sharing.
thanks for sharing.
18 Apr 2015, 07:30 AM
#3
Posts: 1283 | Subs: 4
Okay,
So off we go. I noticed some errors in your capping order right off the bat. It might seem like a minor thing, but having idle squads and unconnected sectors came back to bite you at the 3min mark when you were cut off from practically all of your income for 2 minutes. It helps to use either the tactical map or the minimap and Shift-Queuing up orders. Once one unit is finished, it will execute the next order. Helps with: buildings, abilities, reversing and retreats.
Nearly each engagement from the 5th minute on played out the same way, and lead you to saying: “I'm not able to deal with the sheer weight of his inf even with LMG grens, legit the only way that I can fight him is with MGs, I get 3 that's how much I rely on suppressing his inf.”
The issues I see lie in how you’re dealing with them, you aren’t denying ground or splitting his forces, and playing too deep. I focused in my last review by saying:
“I would personally focus more on your use of support teams, they can be really fragile and in this current patch can't really fight on their own too too efficiently. A good rule of thumb is to keep them behind your mainline combat infantry, it makes them tougher to utilize but they'll provide a lot of pressure, and give you some breathing room to advance, you won't have to worry as much about getting routed from the field and losing more crucial map control. In my mind, your main struggles came when your HMG was in the front, it created holes in your line and conscripts swarmed and flanked your squads, ruining their efficiency.”
I’m glad you took this advice to heart, but you still need to fine tune your facings and more importantly where they’re fighting. I find it’s easiest to come in with a plan, “how am I going to control this area?” Nearly each engagement would initiate, and his human wave would close down on your MGs because they were out of position, and you needed to take time to react.
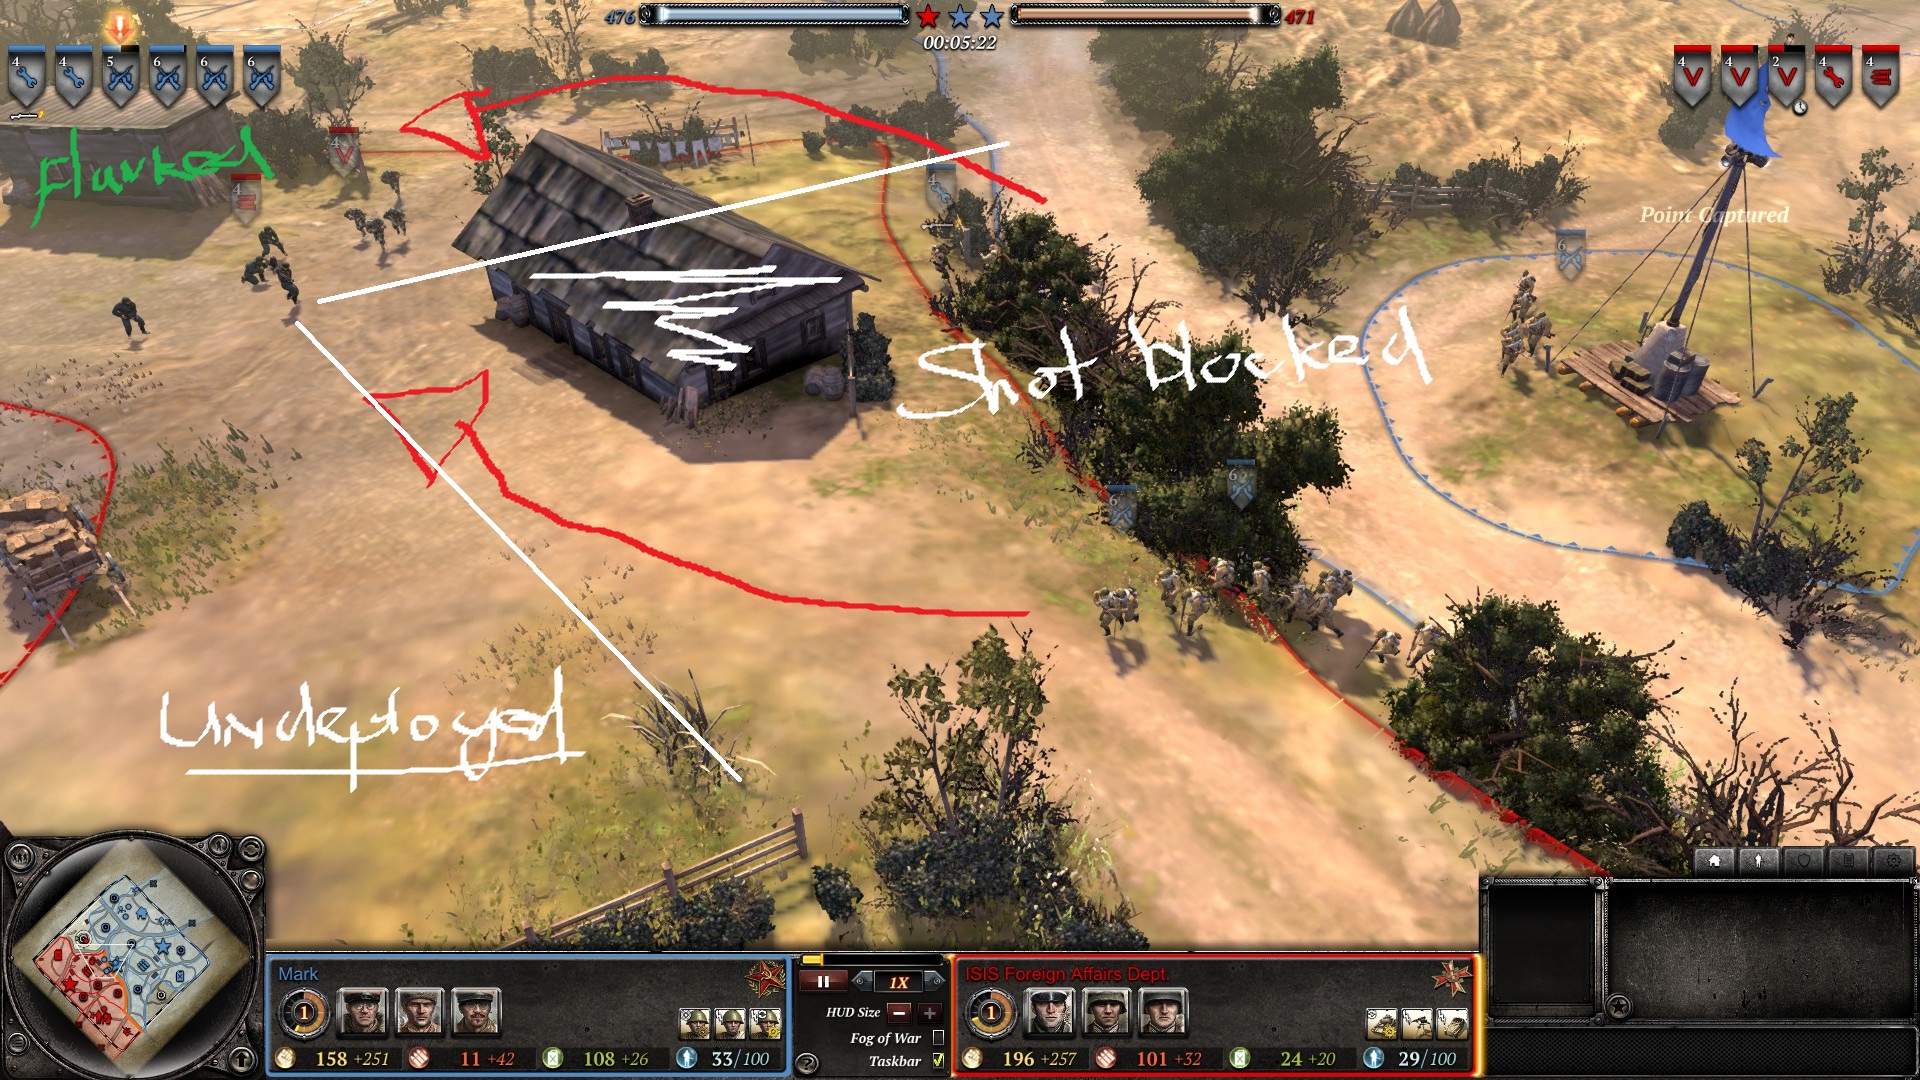
You lost some squads not monitoring their strength, as well as the Mortar HT. The big loss; however, was the 2 Pioneer squads. That really killed you once your Tiger sustained some damage. You can cut down on what are essentially micro, mistakes in these huge untenable battles by coming in with a plan.
So, this is where I’m confused by your play. You identified the concentration of forces in the center, reacted upon it by harassing, around the 5 minute mark. I really loved that play. It was a great piece of induction to realize how concentrated he was, recognizing the eastern flank would likely be open and harassing it; however, you neither denied him any income, nor earned any for yourself, by going for the fuel point. When initiating these plays on open maps like Langres, it’s more important to either go sector by sector, or go for the jugular and choke his cutoff. Your pioneers only barely managed to capture his fuel and did not hold it long enough to even affect his per-minute income.
But my main confusion stems from your ability to recognize his strength and constant pressure on your munitions point continually throughout the game, that center hedgerow remained the fulcrum of every single engagement, but you did not learn by denying that area with your MGs after the few precious routs you forced. Not only that, but after you finally managed a proper rout after the engagement during the 13th minute, you failed to deny the center hedgerow, I would have loved to see you dig in perhaps with bunkers, certainly with mines and/or AT LEAST your MGs-- finally getting them in position.
Quick tip from Cookiezncreem: MG’s in cover makes the squad members bunch up, making them bigger targets for Molotovs, it’s better to risk them in the open.
One singly well placed MG may’ve covered that area, 2 certainly would have, and the 3rd was simply unnecessary and could have became a liability. One that thankfully your opponent didn’t capitalize on, if Mark calmed down with the inf spam, a t34/t70 could have won him that game in the first 12 minutes, or, may have allowed him to even have the 85’s out earlier. He had the fuel for 2 call-ins maybe 5 minutes before your Tiger, but reinforcing his death ball was bleeding his MP.
This really made me question the recon run, you need the munitions for TWP, fausts and mines, you had a great feel during this game, and as I mentioned earlier your induction was spot on, it was pretty predictable what his army was going to be comprised of, and where it was going to show up.
After you have forced the rout referenced at the 13th minute mark, from here, you need to pick up the pace, when points are bleeding away you need to have more tempo in your counter attack, and you found some with your Tiger hitting the field, you identified it yourself “those two tanks [86’s] will shit on an unsupported tiger.” So why did you do it? That one AT nade exhausted 76% of your forces strength, at a time when you need all the pace you can get, and once again, losing those pioneers left that Tiger out of the game.
You managed to finally get control of the center once your Tiger grinded it’s way into existence on the center point, but you squandered it again by not concentrating your forces. Far too often especially from this point on when I felt you finally stabilized and clawed your way back into the game and had a well equipped force, you errantly chucked away your map presence by overextending and often allowing single squads to get picked off and/or forced to retreat, facing his blob alone, leaving your forces isolated and significantly weaker. If you force an engagement with 4 LMG Grens focusing 4 Cons, the LMG’s will win, you rarely had a well micro’d equal engagement. Your opponent, although I don’t think out of his foresight, was always forcing unfair engagements and you were constantly fighting on his terms, not denying the territory or dictating the pace of the battle. Your best opportunities for this are concentrating your forces on a choke point after forcing a rout.
Let me repeat that, to emphasize its importance. If you take one thing away from this Great Wall of China: Your best opportunities for dictating the terms of the battle are concentrating your forces after forcing a rout.
To this point, it's just scheming but, your BO might have benefited instead of the Tiger, utilizing a T3 Ostwind. This would have given you more width, earlier, bearing in mind he did not have the MP for armor, and could have provided some punch to rout those Cons earlier.
So, my final point will unfortunately rest on your attitude. You blew up in your previous replay I reviewed, and unfortunately there was more of the same here. The effect frustration will have on your confidence and focus cannot be understated. Frustration is going to really cloud your judgment and affect your decision making process. Personally I'd try harder to keep that in check, rather than have it spill over into the chat. It is paramount to stay within the present and focus in game. Leave the discussion for forums or afterwards. Getting into your own head will lead to mistakes, and with respect, you don’t have a single 1v1 played as the Soviets, which is crucial to build an understanding of each faction. When you play as a faction, you expose their weaknesses, playing against them exposes their strengths.
I hope you find this feedback useful on your journey of self-improvement, a quest that I hope you continue.
Thank you for sharing.
26 Apr 2015, 08:48 AM
#4
Posts: 14
Thanks a ton for your feedback, it's especially helpful that you go into so much depth with the advice.
Lots of help there but lots of help takes lots of time to implement into my play, thanks again!
26 Apr 2015, 09:20 AM
#5
Posts: 1283 | Subs: 4
My pleasure! I hope it helps you reach your goals and grow into the player you want to become!
If there's anything I could do to improve my feedback, please don't hesitate to critique. I often get worried I write too much. xD
PAGES (1)
1 user is browsing this thread:
1 guest
Livestreams
45 | |||||
13 |
Ladders Top 10
-
#Steam AliasWL%Streak
- 1.855.944+26
- 2.38759.868+33
- 3.843223.791+6
- 4.1103405.731+8
- 5.657233.738-1
- 6.292156.652+3
- 7.282108.723+33
- 8.308114.730+4
- 9.11942.739+6
- 10.10729.787+8
Replay highlight
VS
- cblanco ★
- 보드카 중대
- VonManteuffel
- Heartless Jäger
Einhoven Country
Honor it
13
Download
1287
Board Info
914 users are online:
914 guests
1 post in the last 24h
6 posts in the last week
57 posts in the last month
6 posts in the last week
57 posts in the last month
Registered members: 51000
Welcome our newest member, Steiedcrt44
Most online: 2043 users on 29 Oct 2023, 01:04 AM
Welcome our newest member, Steiedcrt44
Most online: 2043 users on 29 Oct 2023, 01:04 AM