Introduction
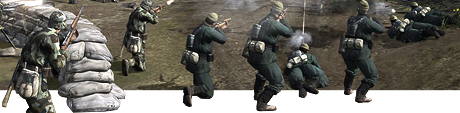
Achtung! Achtung! So, Kommandant, you think you've got what it takes to embark on learning to use the fearful Fortified Armour doctrine? Well, let me tell you it is no cakewalk like the road to Paris. This strategy will require you to play aggressively from the start, going right for the throat of the Bolshevik even in the face of overwhelming numbers.
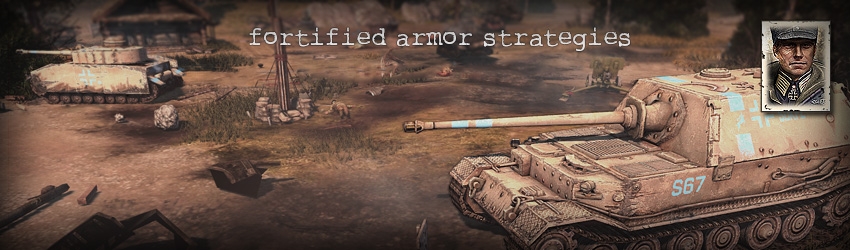
Commander Overview
The Fortified Armor Commander has five unlocks: two passive upgrades, one airborne call-in, and two late-game tank call-ins.
2CP – Panzer Tactician

All armored vehicles gain the ability to deploy a smoke screen blocking line of sight in an area. Incredibly useful against enemy tanks, weapon teams, or any anti-tank infantry squads, as they will not be able to shoot the vehicle without sight.
2CP – Reconnaissance Overflight

A plane will fly over the designated area for a small period of time, revealing all enemy units and terrain near the location. Use it to find enemy Anti-Tank Guns, MG positions, infantry movement or scout the base to see what your opponent is teching.
2CP – Hull Down

An upgrade that can be used by Pioneers, Grenadiers and Panzergrenadiers, allowing them to build defensive sandbags around your tanks, making them immobile yet giving them more protection from enemy fire, increased accuracy, and quicker reload times. This can be turned off at any time, allowing the tank to move.
4CP – Command Tank

The Panzer IV Command Tank has the same stats as the regular Panzer IV, but increases the defensive stats of all units in the same sector.
5CP – Elefant Heavy Tank Destroyer
A beast of a machine, the Elefant has incredible range and armor penetration with high health and armor, suffering only from an extreme lack of mobility. Best against enemy tanks but can do decent damage to infantry if it manages to hit them.
Build Order - Tier 1


Your first pioneer builds the Tier 1 German Infanterie Kompanie and then proceeds off to cap. You should not build a second Pioneer at the start as you will be struggling to fend off the soviet forces.

Build 2 Grenadiers, send the first to the middle so that you can easily switch to either side of the map if needed. By going to the middle first you can also get a good idea of where your opponent's forces are via the blinking sectors on the mini-map/tactical map. The second Grenadier should be bringing up the rear and capping those close base sectors if no enemies are nearby. Otherwise send your second Grenadier to support the first.

The next step is producing two MG42s which will support your first engagements and help you to secure cut-off sectors once you have forced a retreat.
Against Garrisoned M3's


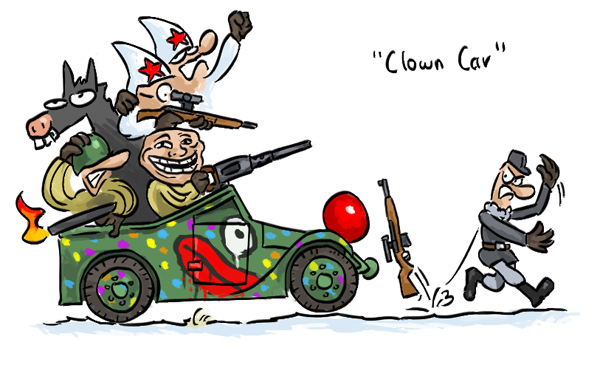
The M3 + Flamer Engineer or Snipers combo is also known as the 'Clown Car'
which is hilariously illustrated here by Ginnungagap
Soft Counter

It is very crucial with this strategy that you keep most of your units together on one side of the map making sure no unit is left unsupported. By doing so you give your units the best chance to fend off enemy attacks. If you left your MGs unsupported with no nearby Grenadiers then they would get burnt to a crisp in no time. Having Grenadier squads nearby is a must so that you can panzerfaust those M3s if they should appear. A good idea here against this strategy would be trying to use your MGs as bait for the M3s while your Grenadiers are hiding in ambush behind something, out of Soviet line of sight.
Hard Counter


If your opponent is making multiple M3s and flamer Engineers then upgrading a Scout Car would be your best option. The Scout Car will tear up M3s, but you must use it cautiously: the Soviet may have planted a few mines or use a Guard Squad to combat it. Now if the situation changes and your opponent puts a Guard Squad inside an M3, you will still be able to kill it like any other M3, although you must be extra careful as the Guards inside will quickly tear it apart.
Against Maxim Spam

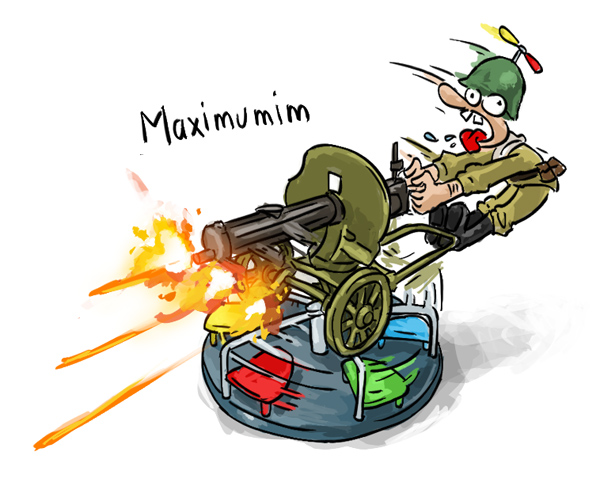
6-man crews, capping power, and invincible houses make these whirly-birds quite insane on the playground
Soft Counter


If you find your opponent trying to lame their way to victory through the 6 man Maxim spam then you must stall out for as long as possible. Continue to try to flank your opponent and go for his cut-offs. Rifle grenades, Snipers and Mortars should be the units of choice to deal with a Soviet MG spam. However, all 3 at this current state of balance do not do well against the mighty Maxim. Currently I would advise against building a German Sniper to counter it as they take too long to de-crew it and Snipers have terrible accuracy against units in buildings. A Mortar can also be just as useless against Maxims. Axis mortars deal less than they used to and Maxims can set-up and re-position incredibly quickly to easily avoid a Mortar barrage.
Hard Counter


The SdKfz 251 Halftrack with a 120 munition flamethrower upgrade built from Tier 2 will be the unit you use to turn the tide against the Soviet MG spam. This is when you will be finally able to take the fight directly to your opponent as Maxim crews do little damage to the Sdkz 251 Halftrack and have no way of protecting themselves if flanked. They also burn rather easily.
General tips:
Once a threat has been dealt with move your Grenadiers forward to cap, engage any enemy units and quickly jump into forward buildings to get increased line of sight. Once you have an idea of where the Soviet units are and the areas he will most likely flank from, set up your MGs accordingly. As soon as you have sent those Commies cowering back to their base you must push for the key cut-off points and possibly lay a few mines on choke points while you can. Another important tip is to keep re-positioning your MG crews around an enemy cut-off so that they never know where your MGs are, making them that much harder to flank.
Build Order - Tier 2


Once you have completed teching to Tier 2 you will want to build another pioneer squad to constructe the building if your first pioneer is busy elsewhere. Building a second pioneer is also useful to repair your vehicles quicker and plant mines.
Now the state of your resources and your units on the field dictate the next unit for construction.
Build a Halftrack first if you have enough fuel, need to reinforce your Grenadiers or MGs on the field, and if your troops require warmth. You never want to retreate your units from the field if you can help it, even if they are at half strength, since you can bring your squads back to full capacity when your Halftrack arrives.

Panzer Grenadiers are in my opinion the most ruthless infantry killing machines on two legs that have ever graced the Eastern Front. These elite units will absolutely tear up Conscripts and give you the firepower needed to deal with the mass amount of Soviet infantry. They also have the Bundle Grenade ability which is excellent at taking out bunched-up Conscripts using Hit the Dirt. I always recommend building 2 as you may need to upgrade a set of Panzerschrecks on one of them in order to deal with Soviet armor.

At this point you may feel the need to produce a Pak if you suspect Russian armor in the near future. Signs of this can be an enemy Fuel Cache, less Soviet infantry and the general fuel point control on the map.

At this point you should be ready to tech to Tier 3 if all goes well. Even if you have enough fuel by this stage I would still recommend building your own Fuel Cache and then tech to Tier 3. This is because a fuel cache would be appropriate in the long term to get the 260 fuel needed to bring out your end game unit: the mighty Elefant.
Tactics
This strategy requires you to be able to maintain constant pressure on your opponent. Your Halftrack allows you to do this by keeping all your squads on the battlefield, continually reinforcing them. At this point in the game you should have around 120 munitions to spend. Where these are spent should depend on what your Soviet opponent has in his arsenal: pick the best units and upgrades to best counter that.
Option 1: vs. Infantry
If your opponent has chosen a very infantry-heavy playstyle, be that mass Conscripts using Hit the Dirt, Shock troops, Guards or Maxim spam, then I suggest getting a Flame Halftrack upgrade for your SdKfz 251 as this flame upgrade is perfect for dealing with infantry.
When using your flame Halftrack you must micro it cautiously: losing one will set you at a huge disadvantage. The Halftrack's primary role will be to kite infantry, avoiding AT grenades and buttoning. If you find yourself in a situation where your vehicle gets buttoned, pop the Panzer Tactician smoke ability and you will be able to micro the unit out of harms way as normal and. Lastly, it is always a good idea to keep a pioneer fairly close to your Halftrack in case it needs fast repairs.
Option 2: vs. Tanks

If you suspect the sound of soviet tanks then upgrading a Panzer Grenadier squad with Panzerschrecks might be a good idea. I would suggest using this squad in conjunction with your Pak and a Grenadier, which can Panzerfaust the vehicle to reduce its speed and allow your other units to finish the job.
Option 3: vs. Tanks

Another useful tactic, if you want to keep you Panzer Grenadiers un-upgraded to deal with infantry, is to lay a couple of Teller mines where you think the enemy tank may appear and on crucial choke points. These Teller mines will one shot M3s and T70s and severely cripple any other tank. It is also important to position your Pak gun to overlook your mines so that you can finish the vehicle if needed.
Build Order - Tier 3


The Panzer IV is the backbone of the German armor. It is very versatile in dealing with both infantry and tanks. However, it cannot go toe-to-toe with some of the more heavier Soviet tanks.

By this time you should have enough CPs to unlock a Panzer IV Command Tank. This will be your weapon of choice for dealing with massive amounts of infantry.
Panzer IV Tactics
The regular Panzer IV can be a formidable weapon. If used correctly, it can even kill SU-85s! However, unless your opponent is careless you will be very unlikely to be in this situation. Therefore with this strategy your Panzer IV acts as a deterrent and compliments your army being a stop-gap until you bring out the big guns, namely the Elefant.
The Panzer IV Command Tank is an excellent harassing unit and should be able to tank on all forms of infantry without taking too much damage. It you think you can repair your Panzer IV without too much trouble then it may be a good idea to let your opponent throw a few AT grenades to make them waste their ammunition. This tactic could also be applied to any vehicle with a fair bit of health. Furthermore, this tank also has a defensive aura buff for all friendly units in the same sector so try to keep it with your main forces if possible.
The Panzer IV Command Tank is an excellent harassing unit and should be able to tank on all forms of infantry without taking too much damage. It you think you can repair your Panzer IV without too much trouble then it may be a good idea to let your opponent throw a few AT grenades to make them waste their ammunition. This tactic could also be applied to any vehicle with a fair bit of health. Furthermore, this tank also has a defensive aura buff for all friendly units in the same sector so try to keep it with your main forces if possible.
The Elephant Heavy Tank Destroyer

This monster is what you call a real tank destroyer. It chews up SU-85's and spits them back out for breakfast. This tank will be your ace and that final nail in your enemy's coffin.
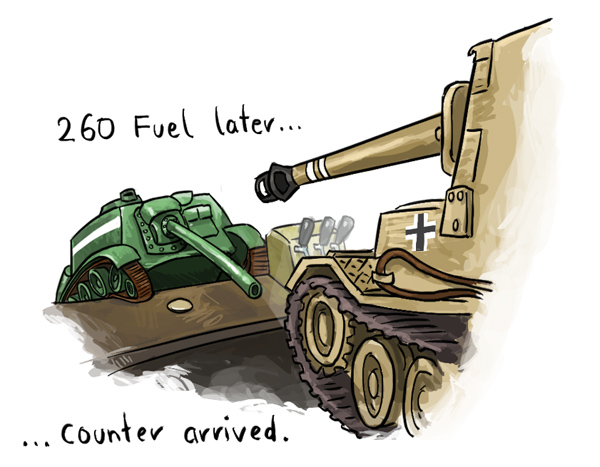
The SU-85 might have been at the counter for quite some time before you get to him
The elephant has massive armor penetration and will 2 shot SU-85s without even breaking a sweat. It also has incredible range, but comes with its problems: poor maneuverability, no turret and slow speed. Not to mention the fact that it also costs 260 fuel, so you better make sure you save up! This is where your early fuel cache should have helped.
The best way to use an Elephant is to keep it near the rear of your forces and ideally in the middle. This will allow supporting units like Paks and Panzer Grenadiers to protect it from getting flanked. Since the range of your Elephant is much greater than your standard line of sight, I highly recommend using your doctrinal Reconnaissance Overflight above your enemy's positions in order to give your beast something to shoot at.
Build Order - Tier 4


If for some reason you still haven't managed to crack your opponent with your Elefant then it might be wise to turn to the Panzerwerfer 42 Multiple Rocket Launcher. It is excellent at providing long range artillery support and breaking any fortified positions.
Panzerwerfer Tactics
As these vehicles are incredibly weak and vulnerable to any enemy fire it is wise to keep them behind your main forces. Hide them behind cover such as impassable foliage, terrain and buildings as these will act as shot- and sight-blockers for your opponent. Once you have fired a barrage you should immediately relocate your Panzerwerfers as you opponent may launch a counter-barrage or send some units to find them.
Final Words
Only the elite of Ostheer Generals have been known to be able to master this doctrine. Will you be one of them? You now know what needs to be done out there against the Soviet menace. However knowing what to do is only half the battle as the other half is actually putting it into practice. So, Kommandant, go out there and make those Bolsheviks flee in Terror with the mighty Panzer IV Command Tank. Make them rue the day they crossed paths with the terrifying power of the Elefant and most of all, make the Fatherland proud! You're dismissed.
 HelpingHans
  OnkelSam
  Ginnungagap
  AmiPolizeiFunk
  Symbiosis